2.5.5 Destroying Environments
Now that our demonstration for the multi-environment workflow is completed, let's destroy the EC2s that were created as its not something we need for the course ahead. We can do it be using the admin credentials configured earlier in our AWS Setup section.
↩️ Rebasing Git
- First thing we need to do is to rebase our code in the Cloud Desktop to the latest in the
mainbranch.
cd ~/playground
git checkout main
git pull
❌ Destroy Dev environment
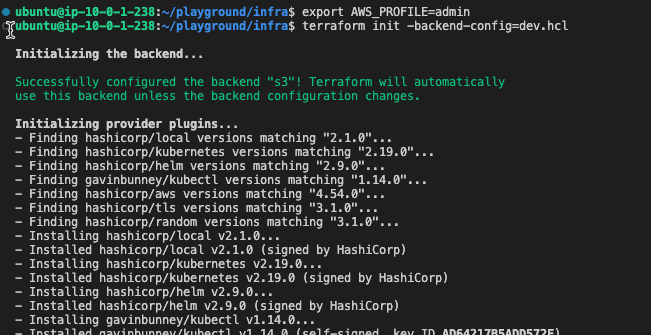
- Open the CLI on the Cloud Desktop and fire the following commands to initalise the
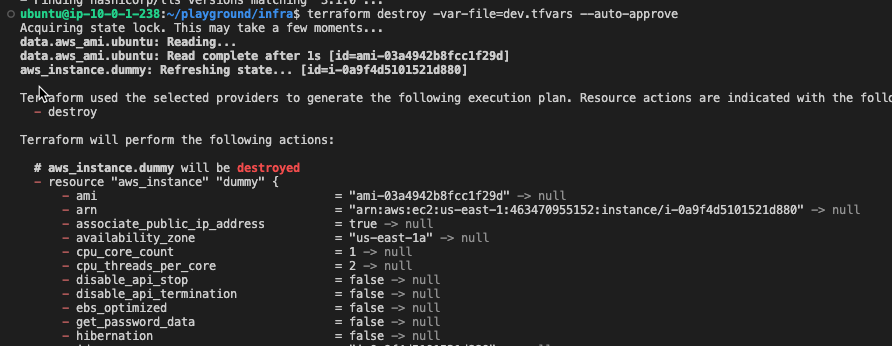
devenvironment state locally and then destroy thedevenvironment
cd ~/playground/infra
export AWS_PROFILE=admin
terraform init -backend-config=dev.hcl

cd ~/playground/infra
export AWS_PROFILE=admin
terraform destroy -var-file=dev.tfvars --auto-approve

❌ Destroy Prod Environment
Similarly, fire the below commands to destroy Prod environment
cd ~/playground/infra
export AWS_PROFILE=admin
terraform init -backend-config=prod.hcl -reconfigure
terraform destroy -var-file=prod.tfvars --auto-approve
End of Chapter 2
That completes the Chapter 2, before you move to Chapter 3
- Ensure that you've created the OIDC Github Role,Global S3 bucket and Dynamod DB for storing the state
- You've created the different AWS accounts using AWS Organisations
- Created the different IAM Roles and Route53 Zones that'll be used for the
prodanddevaccounts for the future chapters. - Created IAM Users and configured their Console and CLI Access to AWS cloud.
- And finally, understood and executed the multi-environment strategy to execute code first in
devand then inprod